Live Streaming
Live Inputs in Videoflow can accept RTMP and HLS video streams as the contribution feed and deliver either a WebRTC or HLS stream to the viewer. Live streams can be recorded for later use as VOD and viewers can use DVR-like functionality while viewing the live stream to rewind and view previous moments. This guide will cover the creation, management, and publishing of a live stream using an RTMP based live stream.
Creating a New Live Stream Input
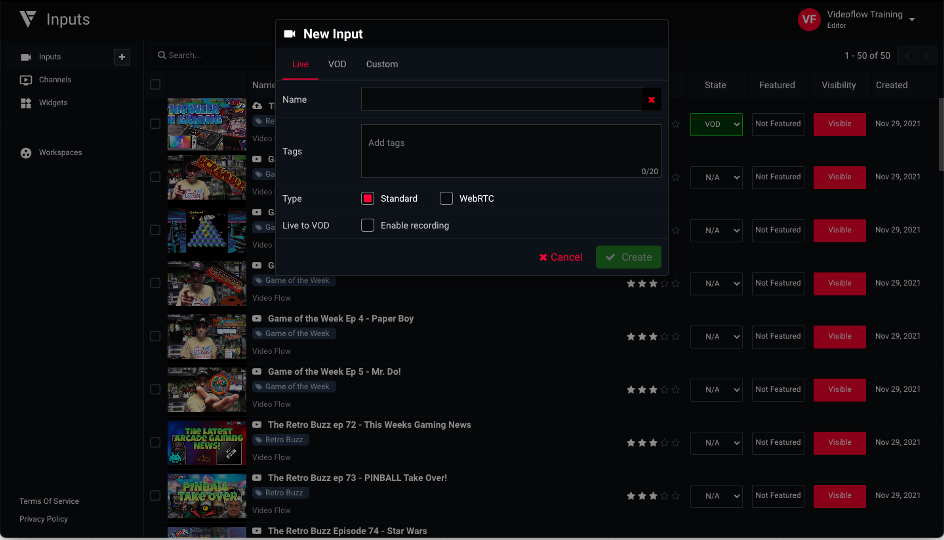
To create your new live stream, click on the ‘+’ button next to ‘Inputs’ in the left navigation. Then make sure you’ve selected ‘Live’ and ‘Standard’ in the popup window. You may also choose “Enable Recording” to be able to create a VOD recording of the live stream once it is complete.
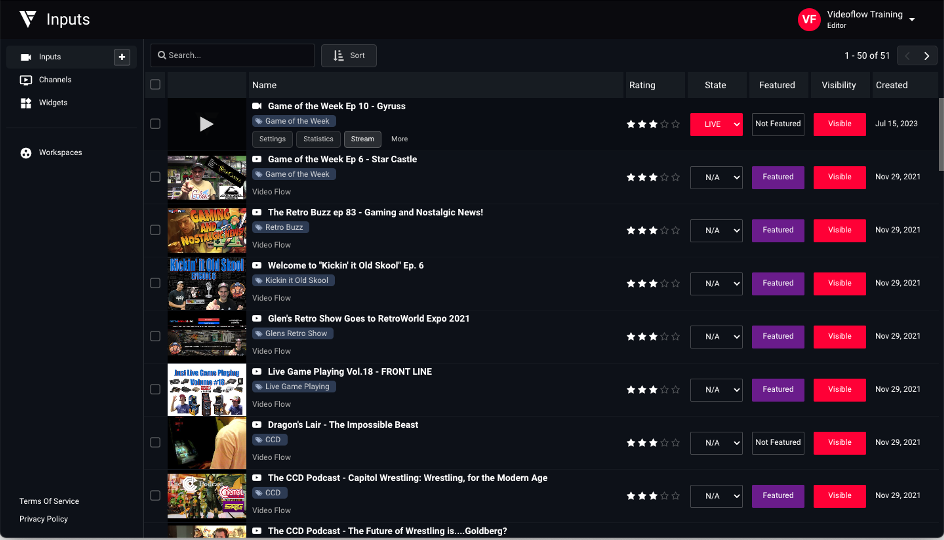
Live stream inputs have many of the same properties as other types of inputs, including descriptions, thumbnails, tags, state, visibility, etc. that can all be edited in the Inputs screen or by clicking on the ‘Settings’ button for the input.
Live stream inputs have additional features though, including the type of stream and quality, that can be managed by click on the ‘Stream’ button for the input.
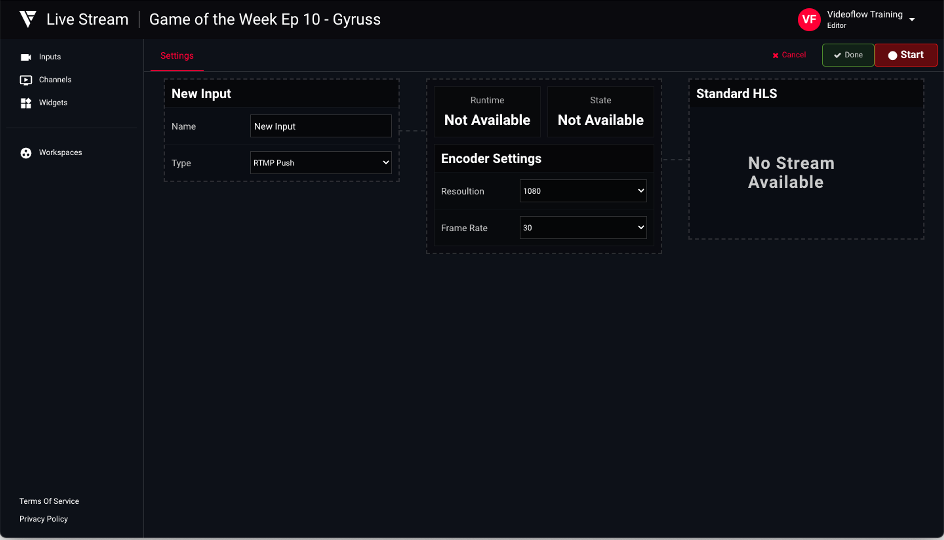
Once you’ve clicked on the Stream button for the input, you should see a screen like the following. There will be three boxes on this screen:
- New Input: This is where you can enter a unique name for your stream and choose if it will use RTMP Push, RTMP Pull, or HLS. For the purposes of this guide, choose RTMP Push. This box will show additional parameters once the stream is started.
- Status and Settings: This box will display the current status of your stream, as it initializes when you start it, or shuts down as your stop it. It also enables you to set the resolution and frame rate for your video.
- Preview Window: This box will show the video that is currently being pushed (or pulled) into the live stream.
Starting the Live Stream
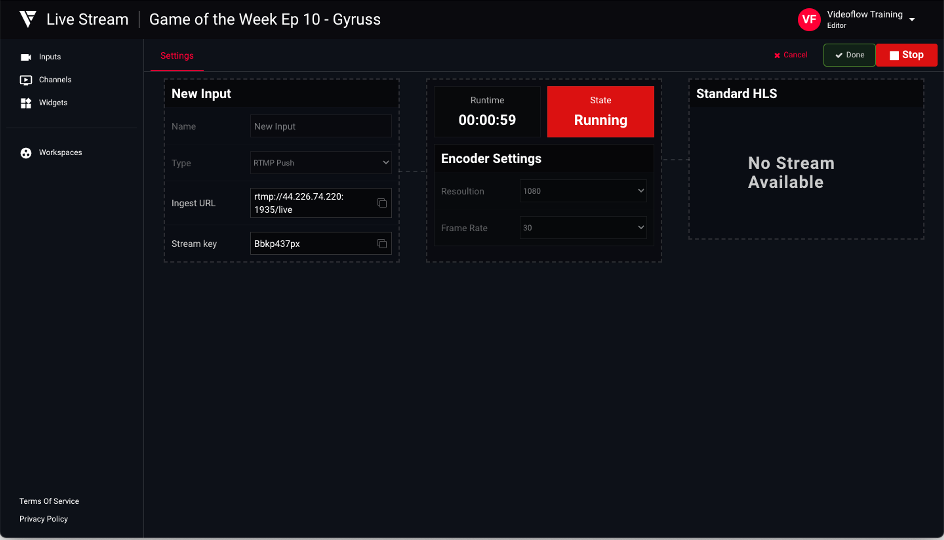
On the top right of this screen there is a ‘Start’ button. Clicking this will confirm your settings and being to initialize the system to accept your stream. You will also then see a ‘Stream URL’ and ‘Stream Key’ in the ‘New Input’ window. Below is an example:

You can copy the information in the ‘Stream URL’ and ‘Stream Key’ fields in the ‘New Input’ box and paste it into your stream management software. For example, if you are using OBS, use the instructions found towards the end of this document.
Once the system is completely initialized and ready to accept your stream, your screen should look something like the following, where the status box indicates the state is running. The preview box will not display anything until you actually start your stream in your stream management software.
IMPORTANT Once your stream is complete, you must shut it down manually, or it will continue to run, even without any video data being streamed in. This will result in increased ingestion charges and an empty video that your viewers be able to see. Additionally, it will never get converted into a VOD if you selected that option.
Shutting Down the Live Stream
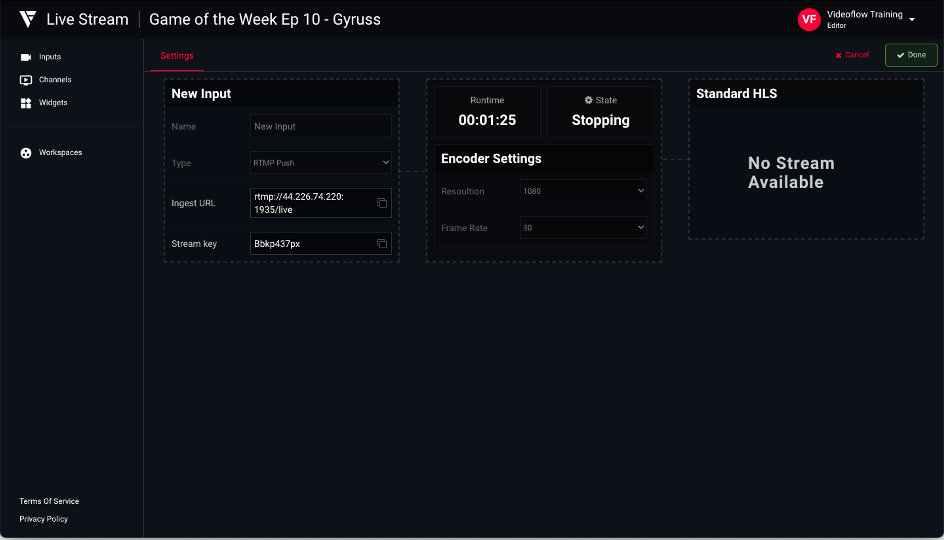
Once your stream is complete and you wish to shut it down, just click the ‘Stop’ button at the top right of the screen. You will be asked to confirm that you’d like to stop your stream. Click ‘Okay’ and the stream will commence shutting down. The status window will say ‘Stopping’ and ‘Cleaning Up’ to indicate that it is shutting down and ‘Finished’ once shutdown is complete as follows:

Streaming software
In order to deliver an RTMP feed to Videoflow, you can use OBS, a popular open source streaming software. You can download OBS here.
Settings up OBS
Once OBS starts click the Settings button to configure your streaming properties. You'll need to configure a few different sections:
Stream
| Property | Value |
|---|---|
| Service | Custom... |
| Server | The RTMP Address of the live input. You can copy and paste that value from the input settings. |
| Stream Key | The Stream Key of the live input. You can copy and paste that value from the input settings. |
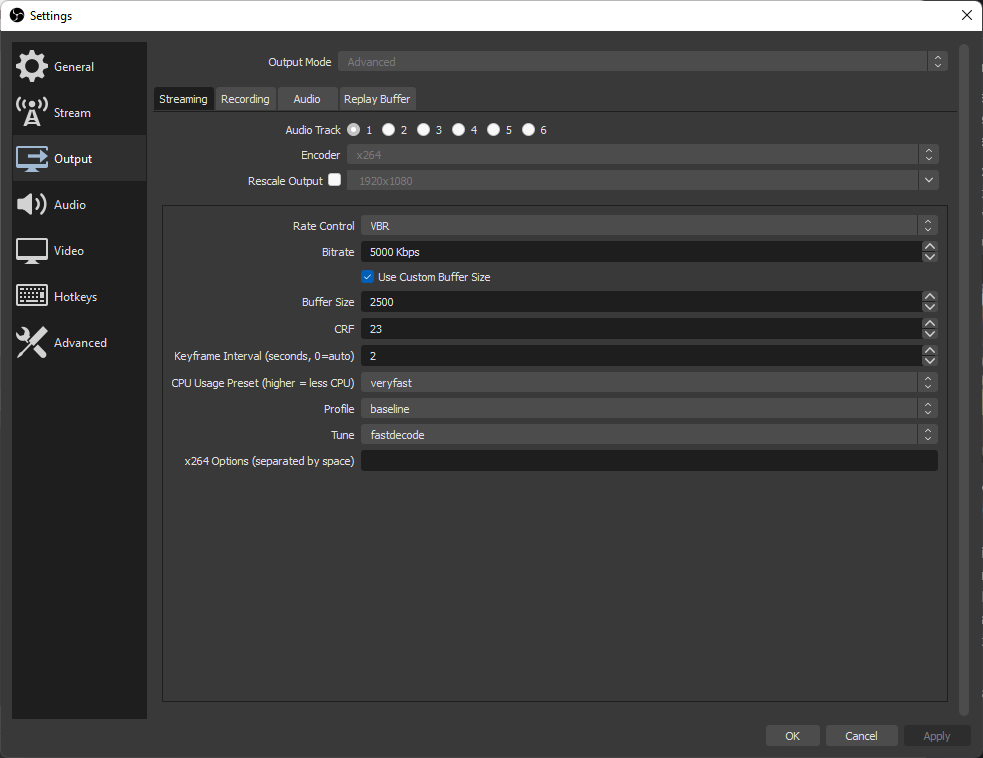
OBS output settings